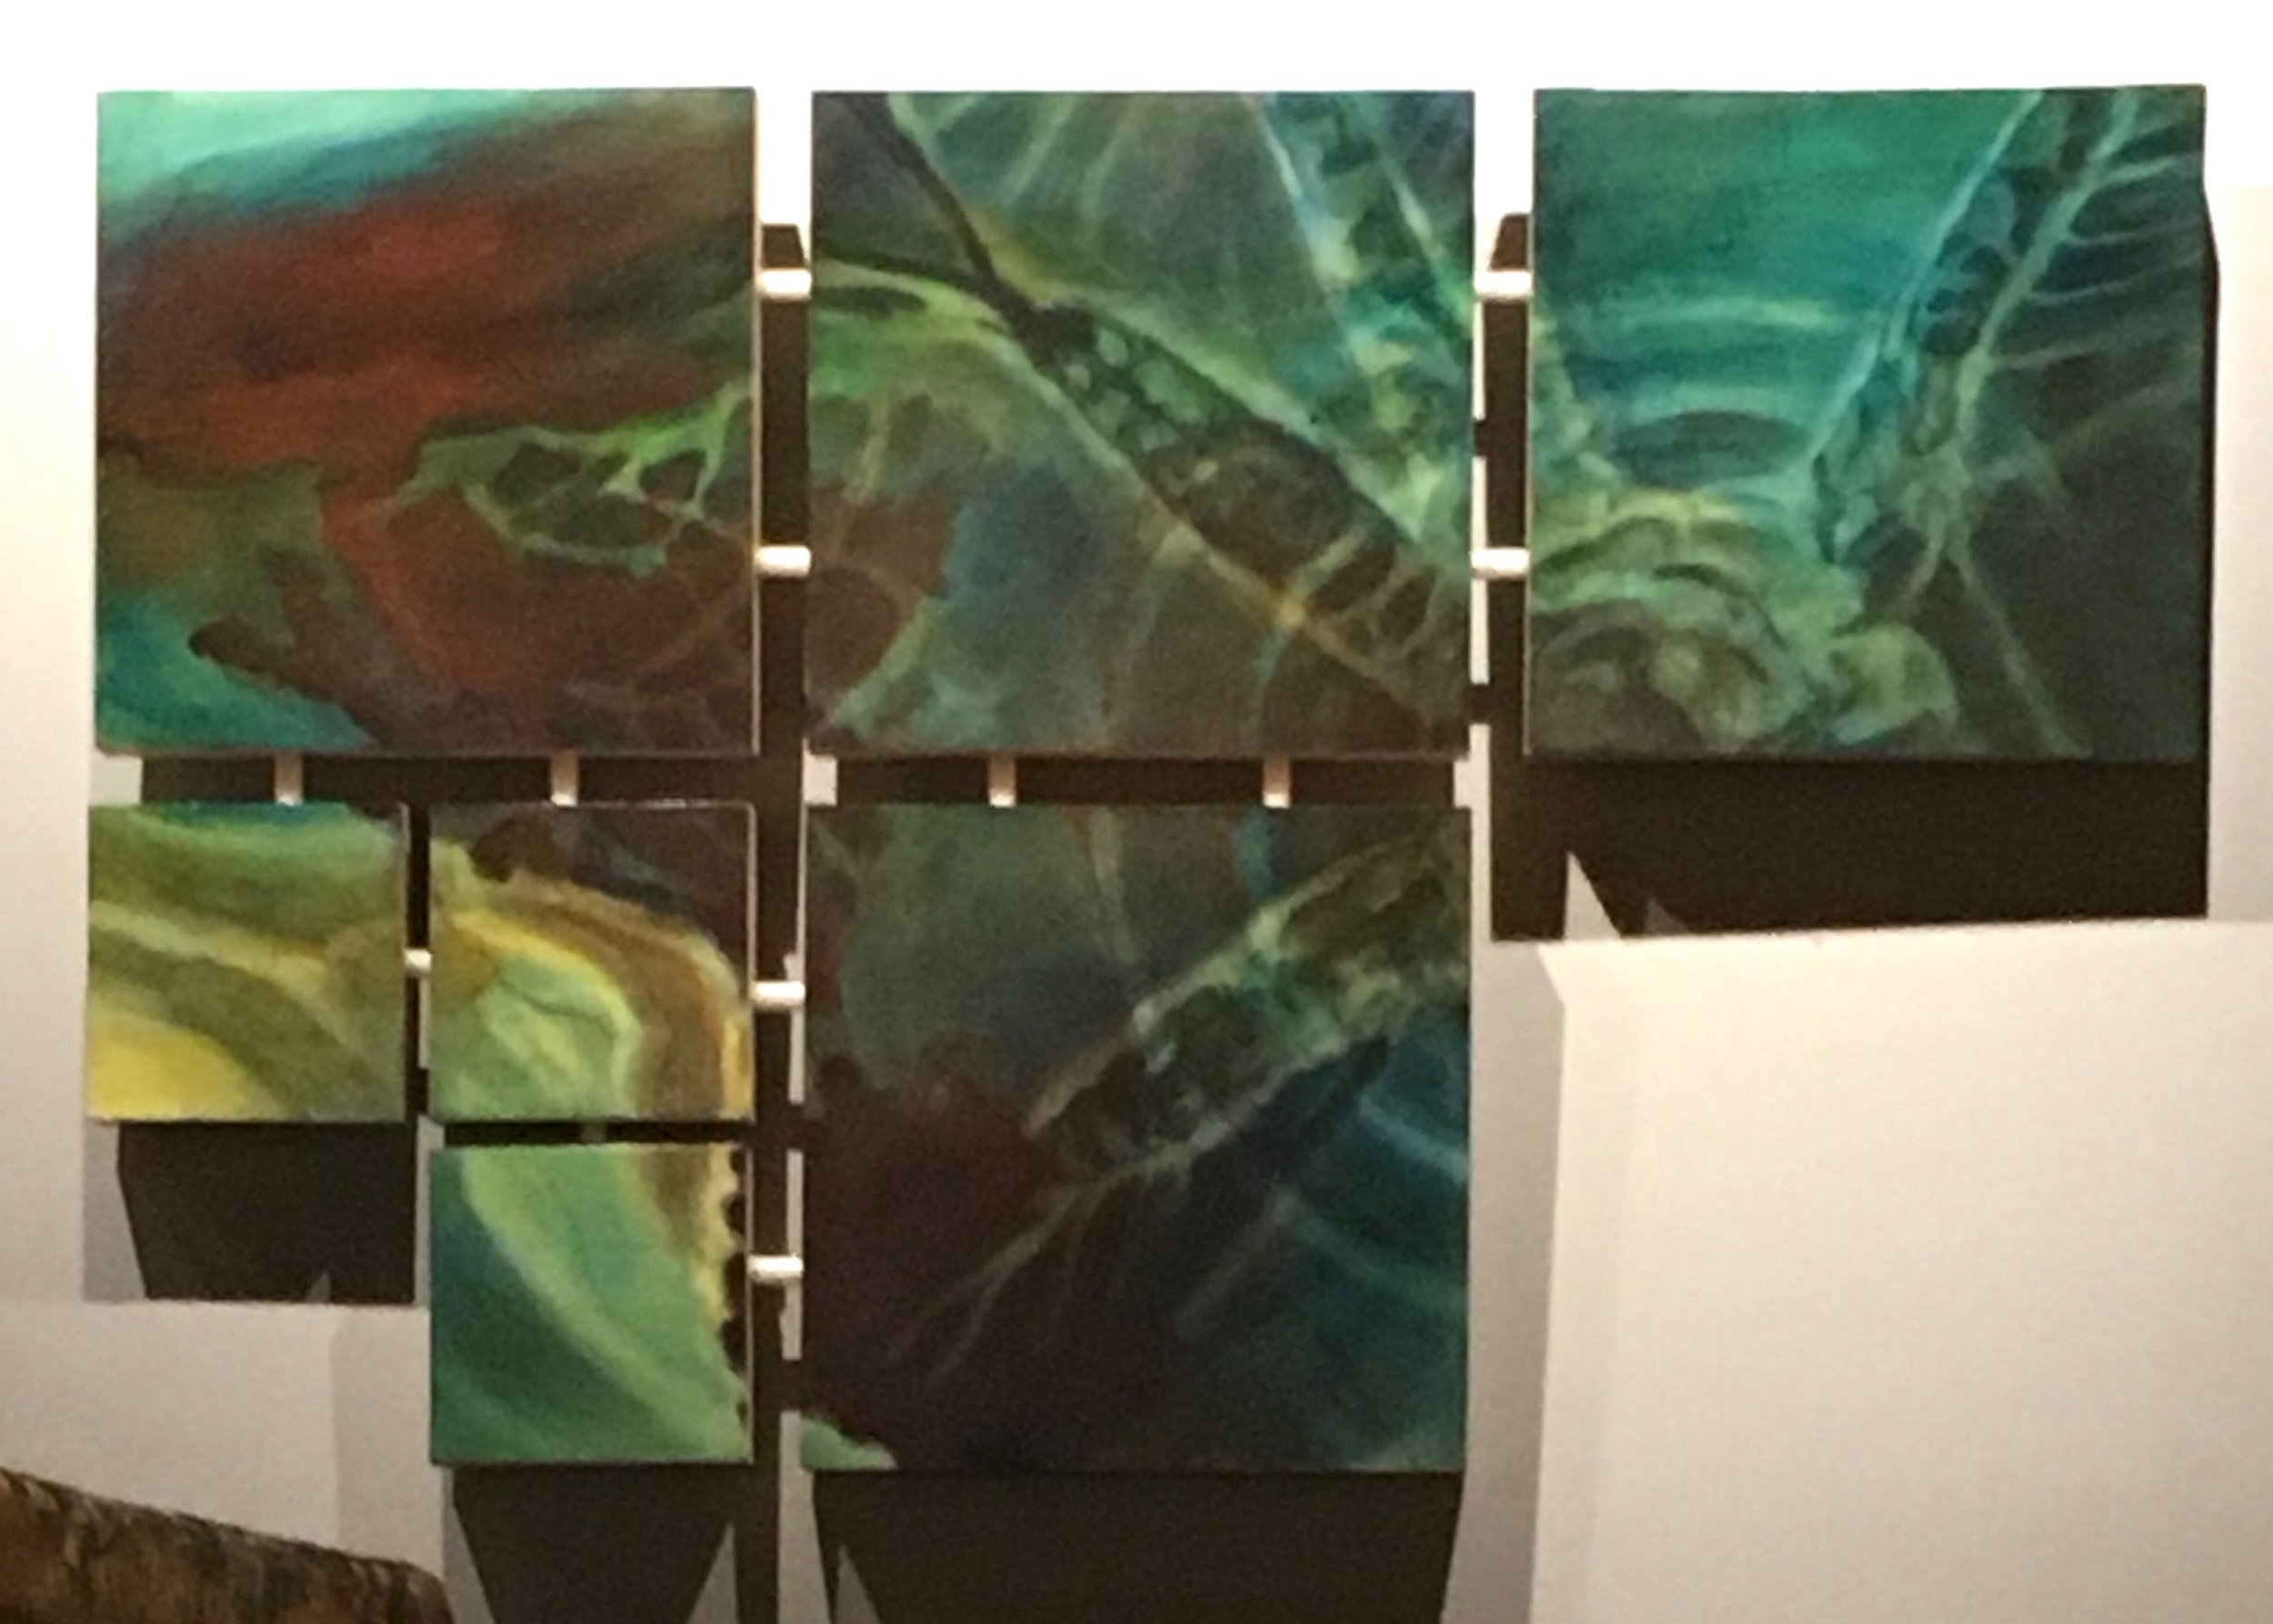
I like to paint on hardboard panels. In my own work, I screw lots of panels together in different configurations, so the cost can add up pretty quickly if I buy them at retail. So, I learned to build my own. It’s also pretty cool to be able to make them in any size I want.
After a few iterations I have developed a process. It’s not hard, but it does take time and power tools. Yay, power tools! I found them pretty intimidating at first, but learning to use them has been a liberating experience.
Before starting: Protect your eyes and ears with safety glasses and ear plugs!
Step 1: Cut 1x2s in the lengths you will need

First of all, 1x2 does not mean 1” x 2”. You will get pieces of wood that are ¾” x 1 ½” x whatever length you order. If you are interested in an explanation, you can find it here: https://www.thesprucecrafts.com/understanding-wood-sizes-in-softwood-lumber-3536905
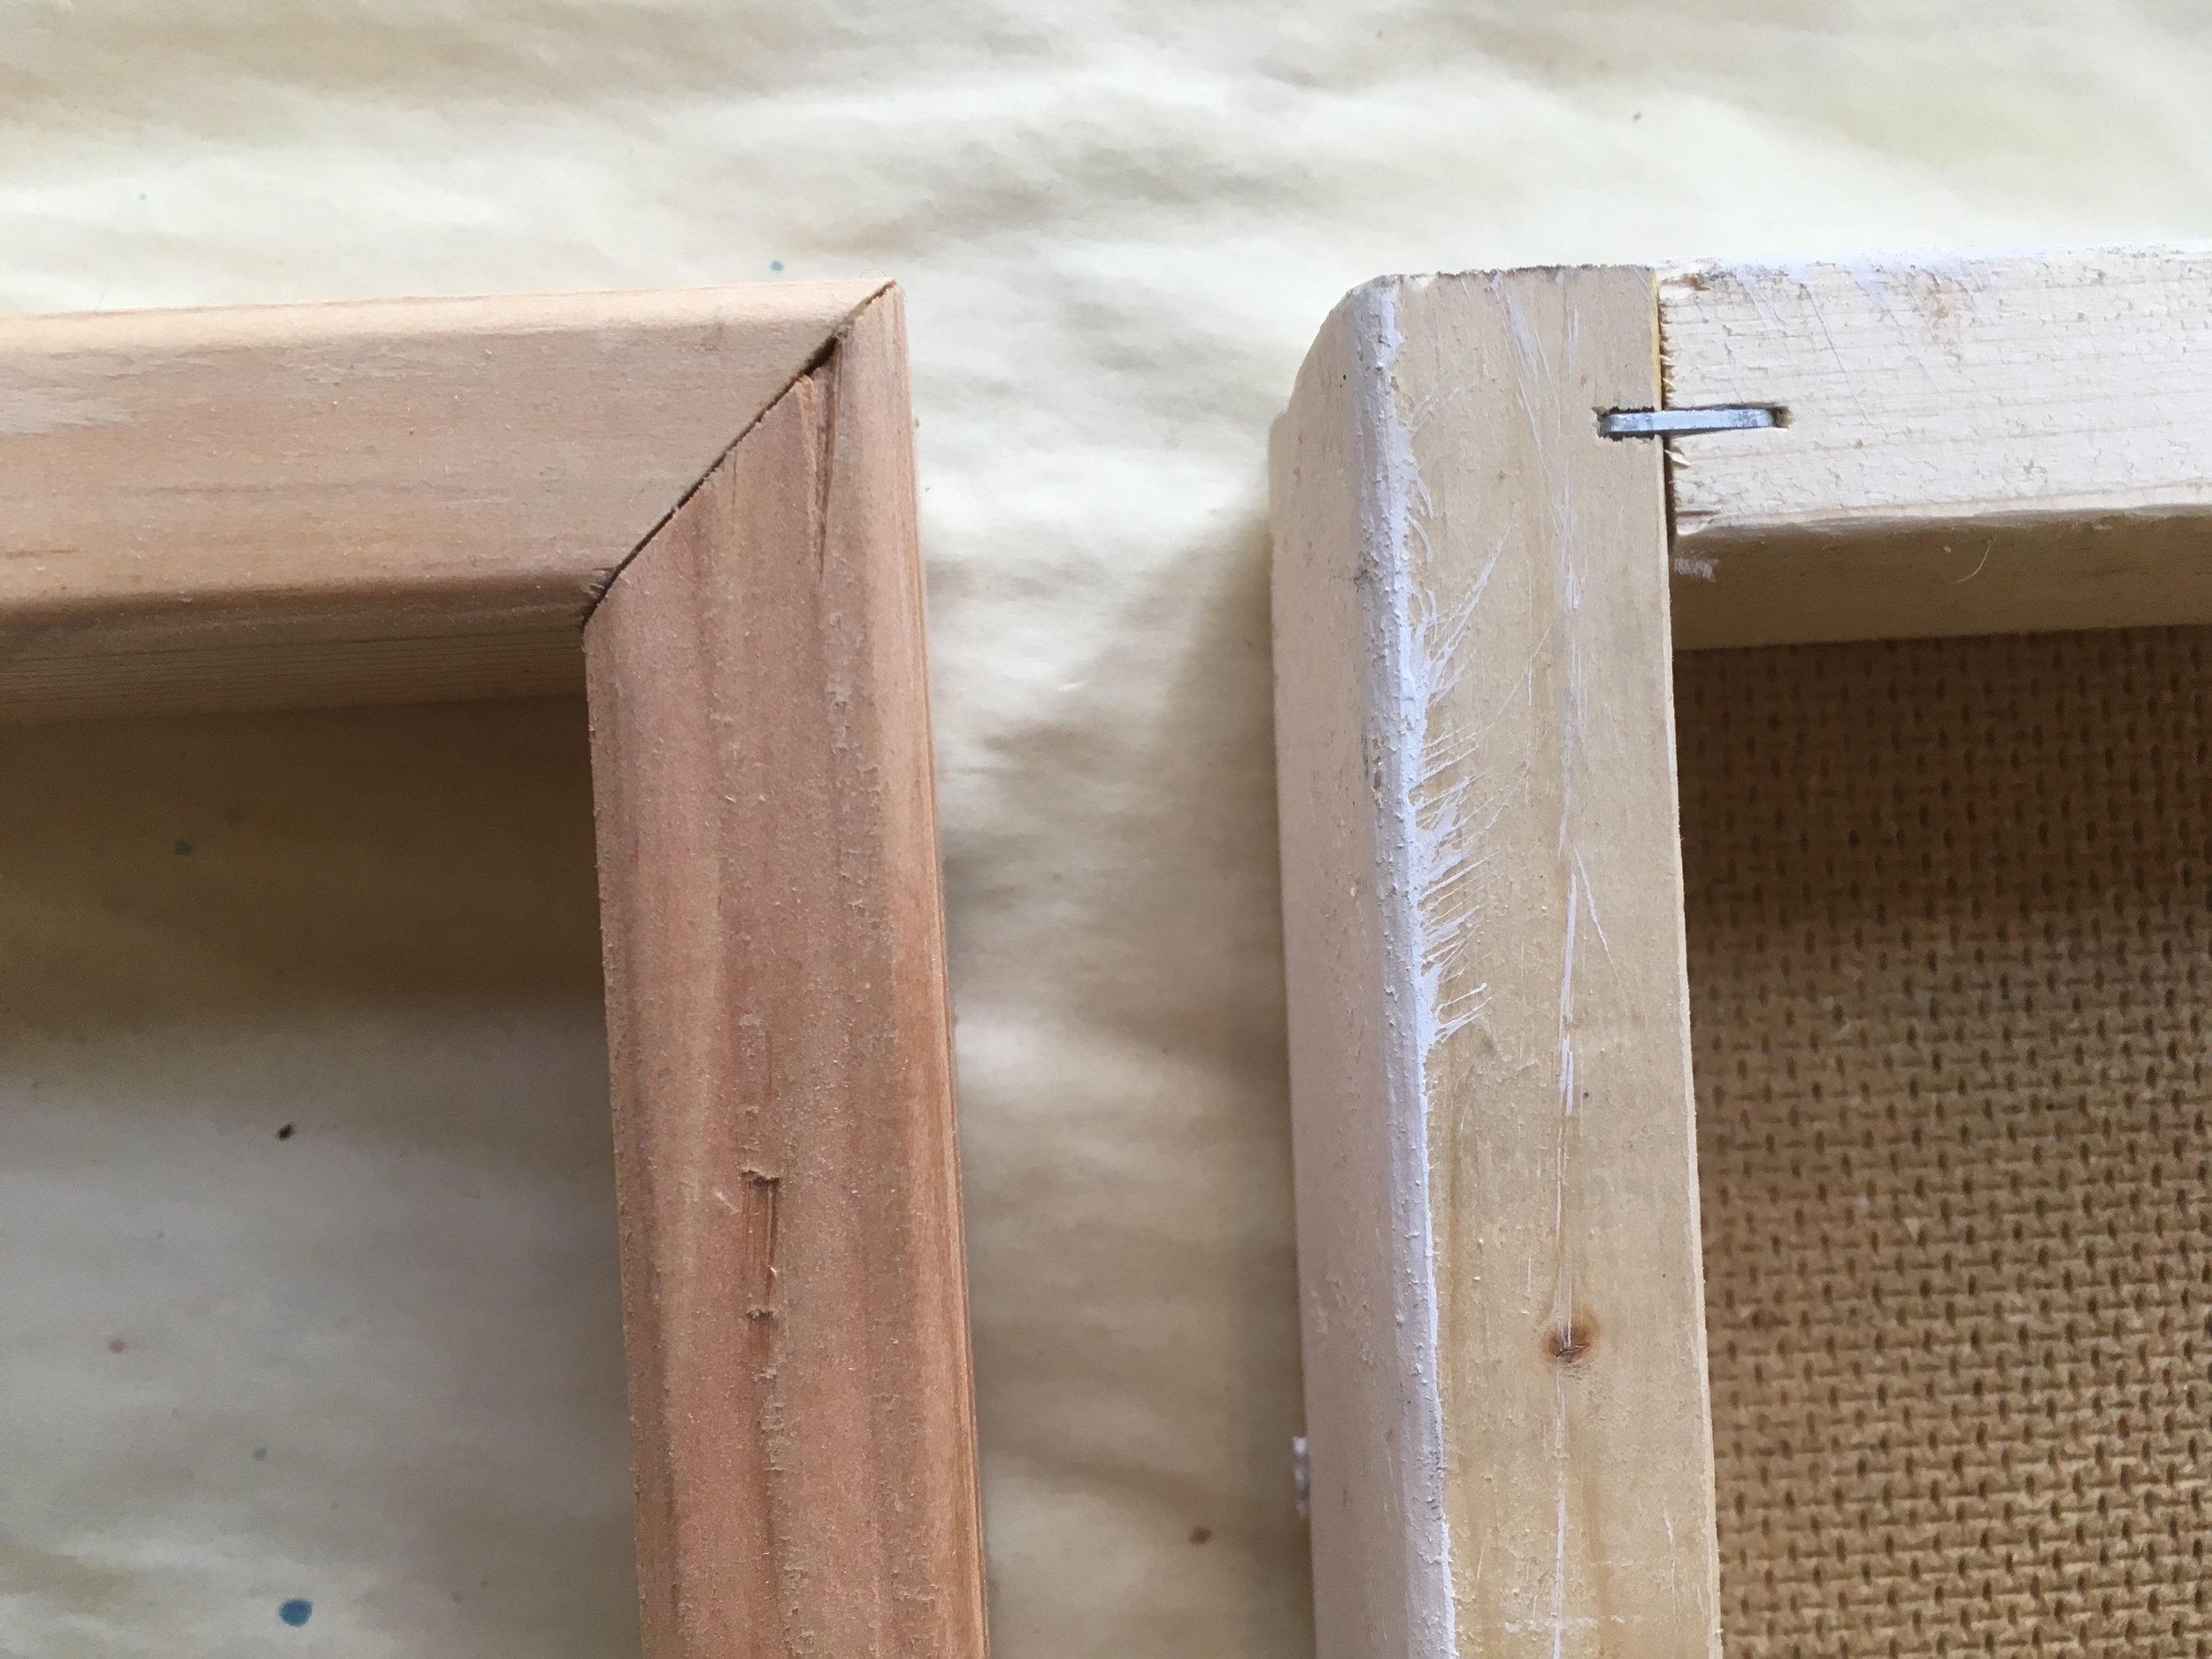
Nice mitered corner vs. clunky un-mitered corner.
Use a miter saw, also sometimes called a chop saw, to get perfect 45 degree corners. This is important. Don’t try to fudge this. Your panels will not work. I’ve included a comparison with an un-mitered corner panel.
I measure for the outside (long) edge of the wood piece and mark it with a pencil. Then I make another pencil mark 3/16” away that I line up with the saw blade. This is something you’ll have to experiment with on your own saw. Be as precise as possible. Wood pieces opposite each other should be exactly the same length.
Also, don’t be afraid to practice quality control when you’re cutting down the 1x2s. There might be portions with broken edges or knots. Don’t be afraid to cut those out if you don’t want them in your panels. Once you paint on these, you will want them to be perfect.
Step 2: Glue 1x2 pieces into squares (or rectangles) to make a cradle frame

I use Clamp-Its from Rockler, my local woodworking store, to make corners square while the glue sets. You will also need clamps to secure the mitered 1x2s to the square corners. Use wood glue on the cut ends, and wipe any excess away with a damp rag once the clamps are set.
It’s worth taking the time to make the corners perfect here. Then, let the glue dry.
Step 3: Cut down tempered hardboard

My jig saw set up for cutting board. It’s wiggly!
I buy 1/8” thick double tempered hardboard in 4’ x 8’ sheets. It’s big, floppy, and awkward. I add ¼” to the length and width of the total panel size I want to end up with.
Ex. For 12” square panels, I cut the hardboard to 12 ¼” x 12 ¼”. I measure and draw pencil lines to follow, but I use a jigsaw to cut them, so they’re not perfect, and a little too big is better than too small. The excess will be trimmed away later.
Step 4: Glue tempered hardboard pieces to the 1x2 frame

Check and make sure that your hardboard panel is bigger than the 1x2 frame all the way around. If it’s not, cut a new panel and use the smallish one for something else.

Clamp cradle frame to panel while glue cures.
Once the panel is clamped to the frame, wipe away any wood glue that has squeezed through to the outside with a damp rag. It dries clear, but you’ll have to sand it off later. It’s kind of a pain, and unnecessary if you wipe it off while it’s wet..
Let the glue cure for 24 hours.
Step 5: Trim the edges
Panel with untrimmed edge. Excess board=lots of dust!
**This makes a big dusty mess. Use a dust mask, some kind of dust sucking device, and cover everything you value with plastic sheeting.

Move the router counterclockwise (leftward) around the panel
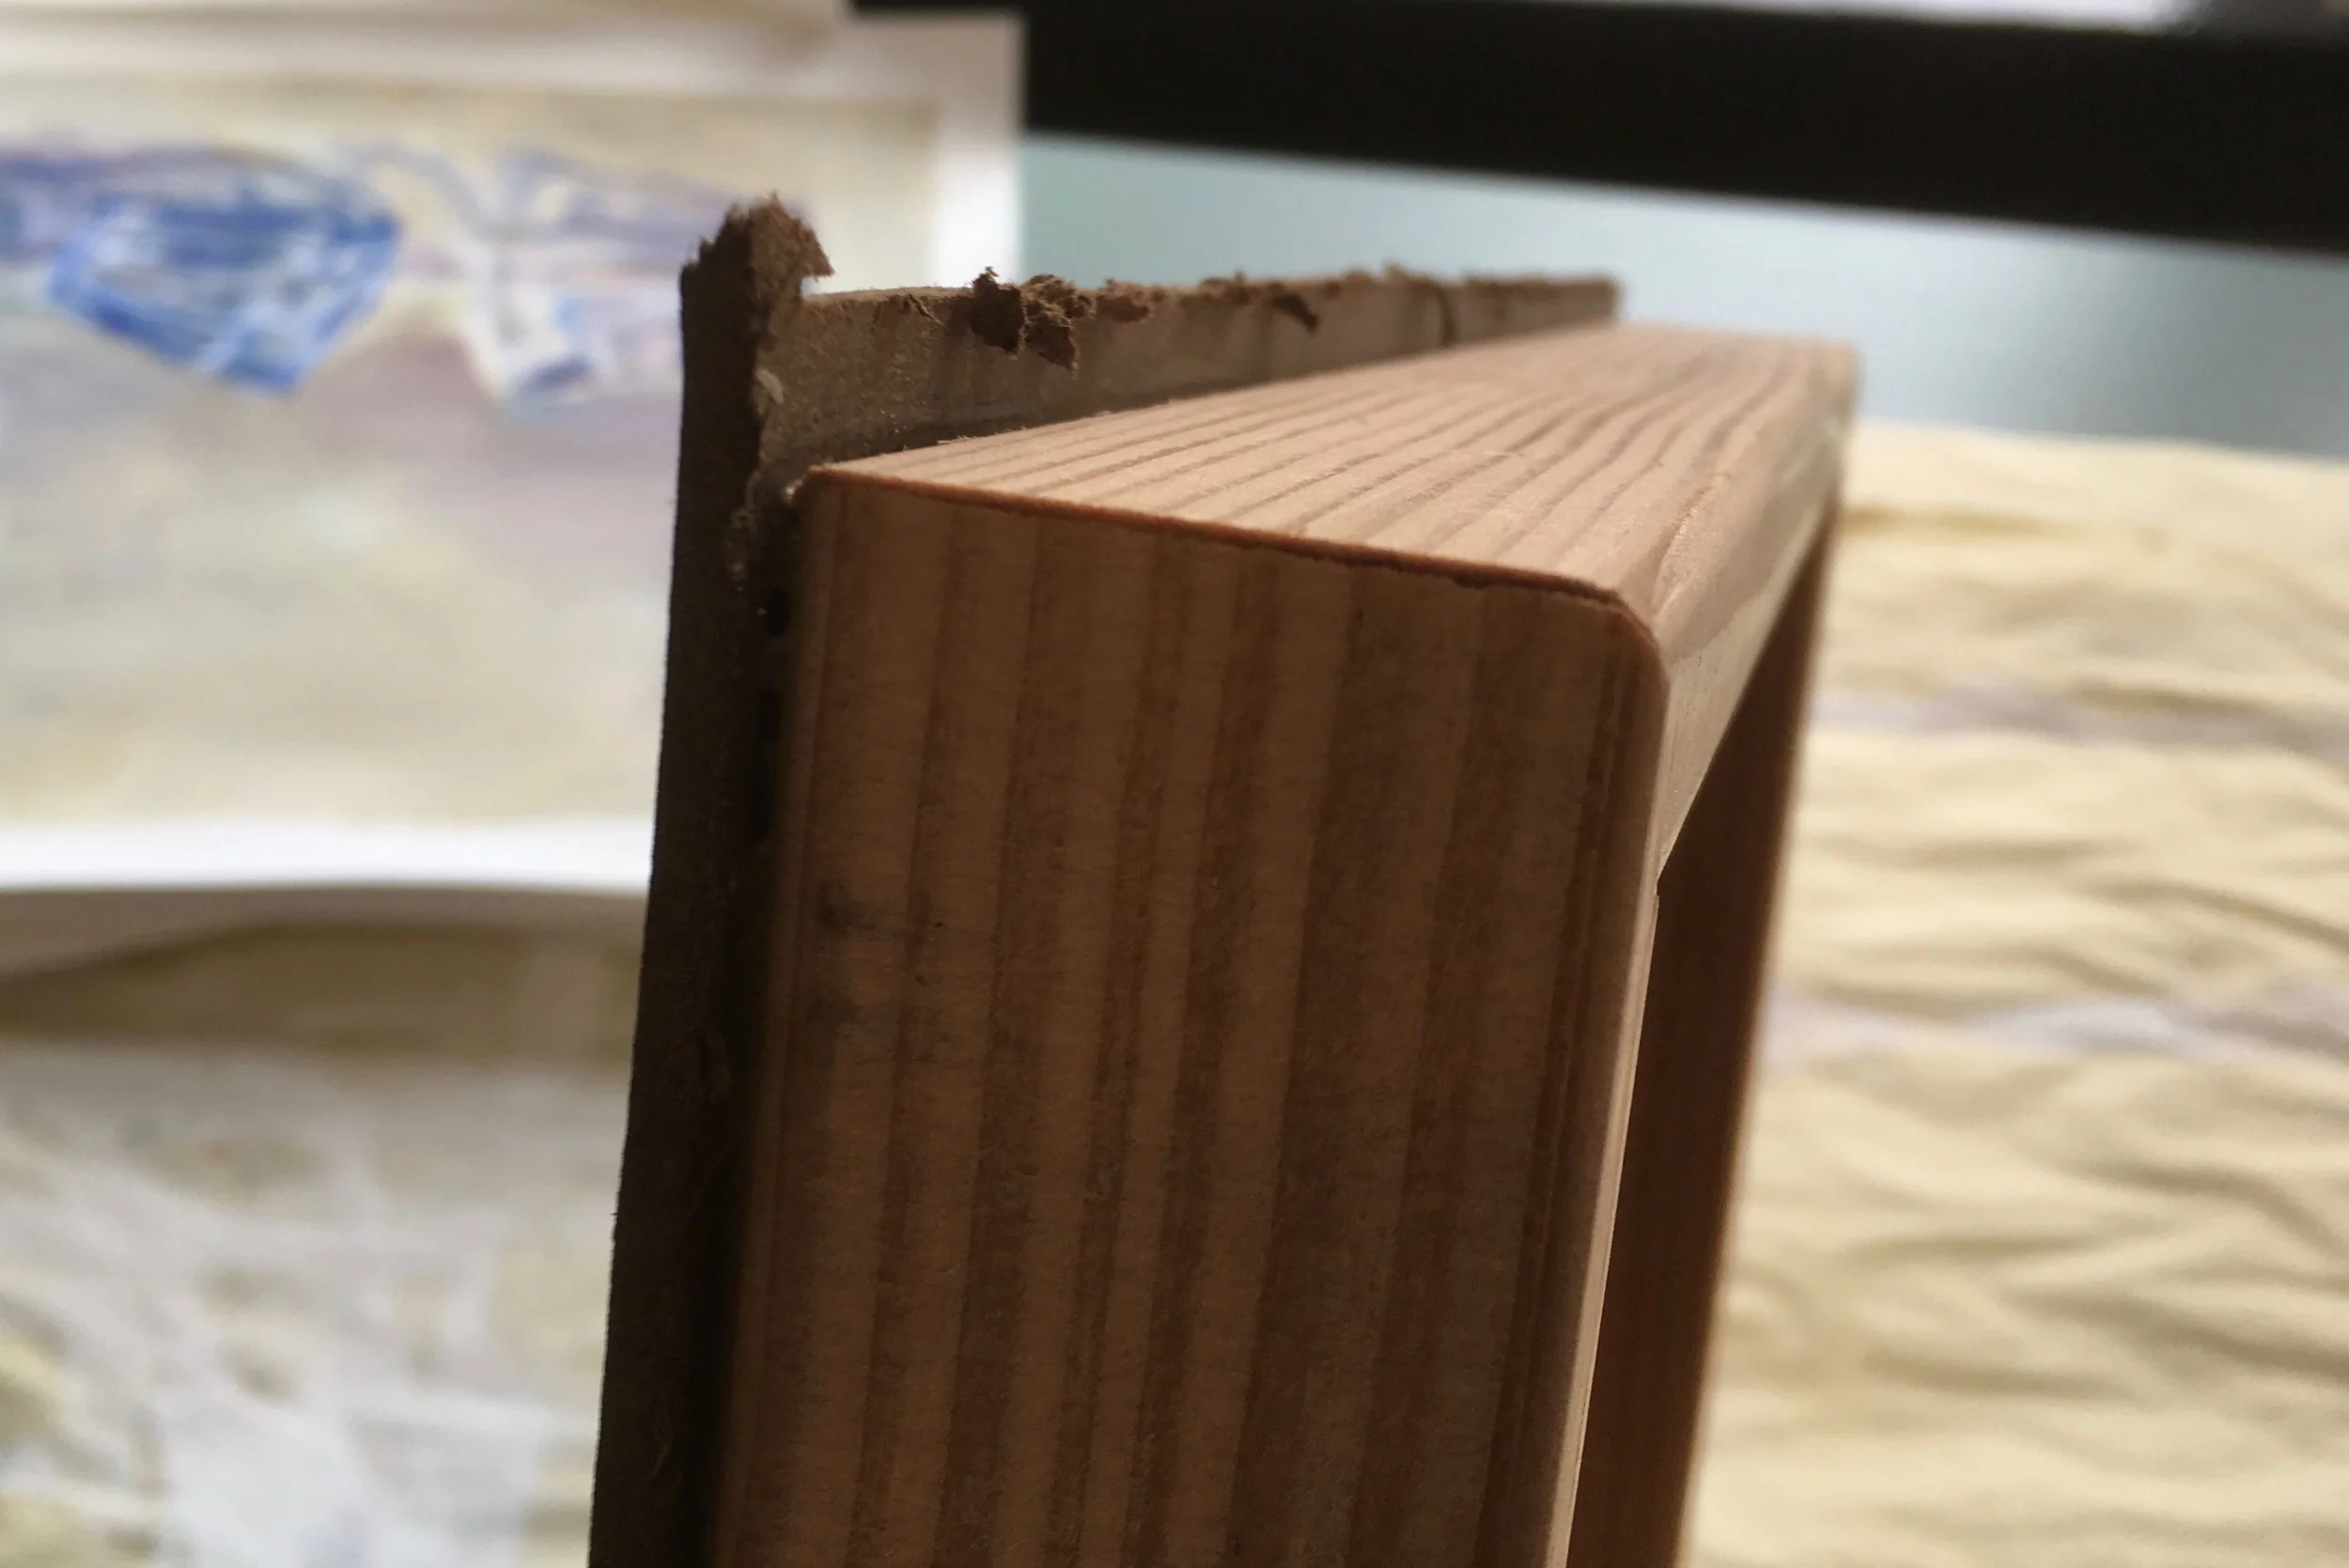
I use a router with a flush trim bit to trim the edges down. Position your panels with the hardboard side (face) facing up. Plan to move the router counter-clockwise (always to the left) around the panel as you trim.

Router with a flush trim bit. The black bead traces the edge of your cradle frame.
A flush trim bit has a spinny bead at the end that rolls along the edge of your frame, and will trace the outer edge of the frame while the blade above it scrapes away the extra hardboard. Keep your hands out of the way
Note: any weird bumps on the frame will be copied onto the hardboard. I have made the mistake of fudging here. It’s not worth it. Weird panel edges that come from weird frame bumps are not fixable. And no amount of paint will camouflage them!

Stapled corner. I add the hanging hardware before I start painting—another nifty trick I learned from a fellow artist.
Step 6: Reinforce the corners
Staple the corners. Use a staple gun to staple across the mitered corners. If you have really big panels, you might want to use counter sink drill bit and screw the corners together. Since mine are small, staples are faster.
Voila! Panels ready for gesso!