• Work
  • Journal
  • About
  • Contact
  • Shop
Menu

Liz Ewings

  • Work
  • Journal
  • About
  • Contact
  • Shop
Noctiluca as Flower

Why paint plankton like flowers?

March 11, 2020

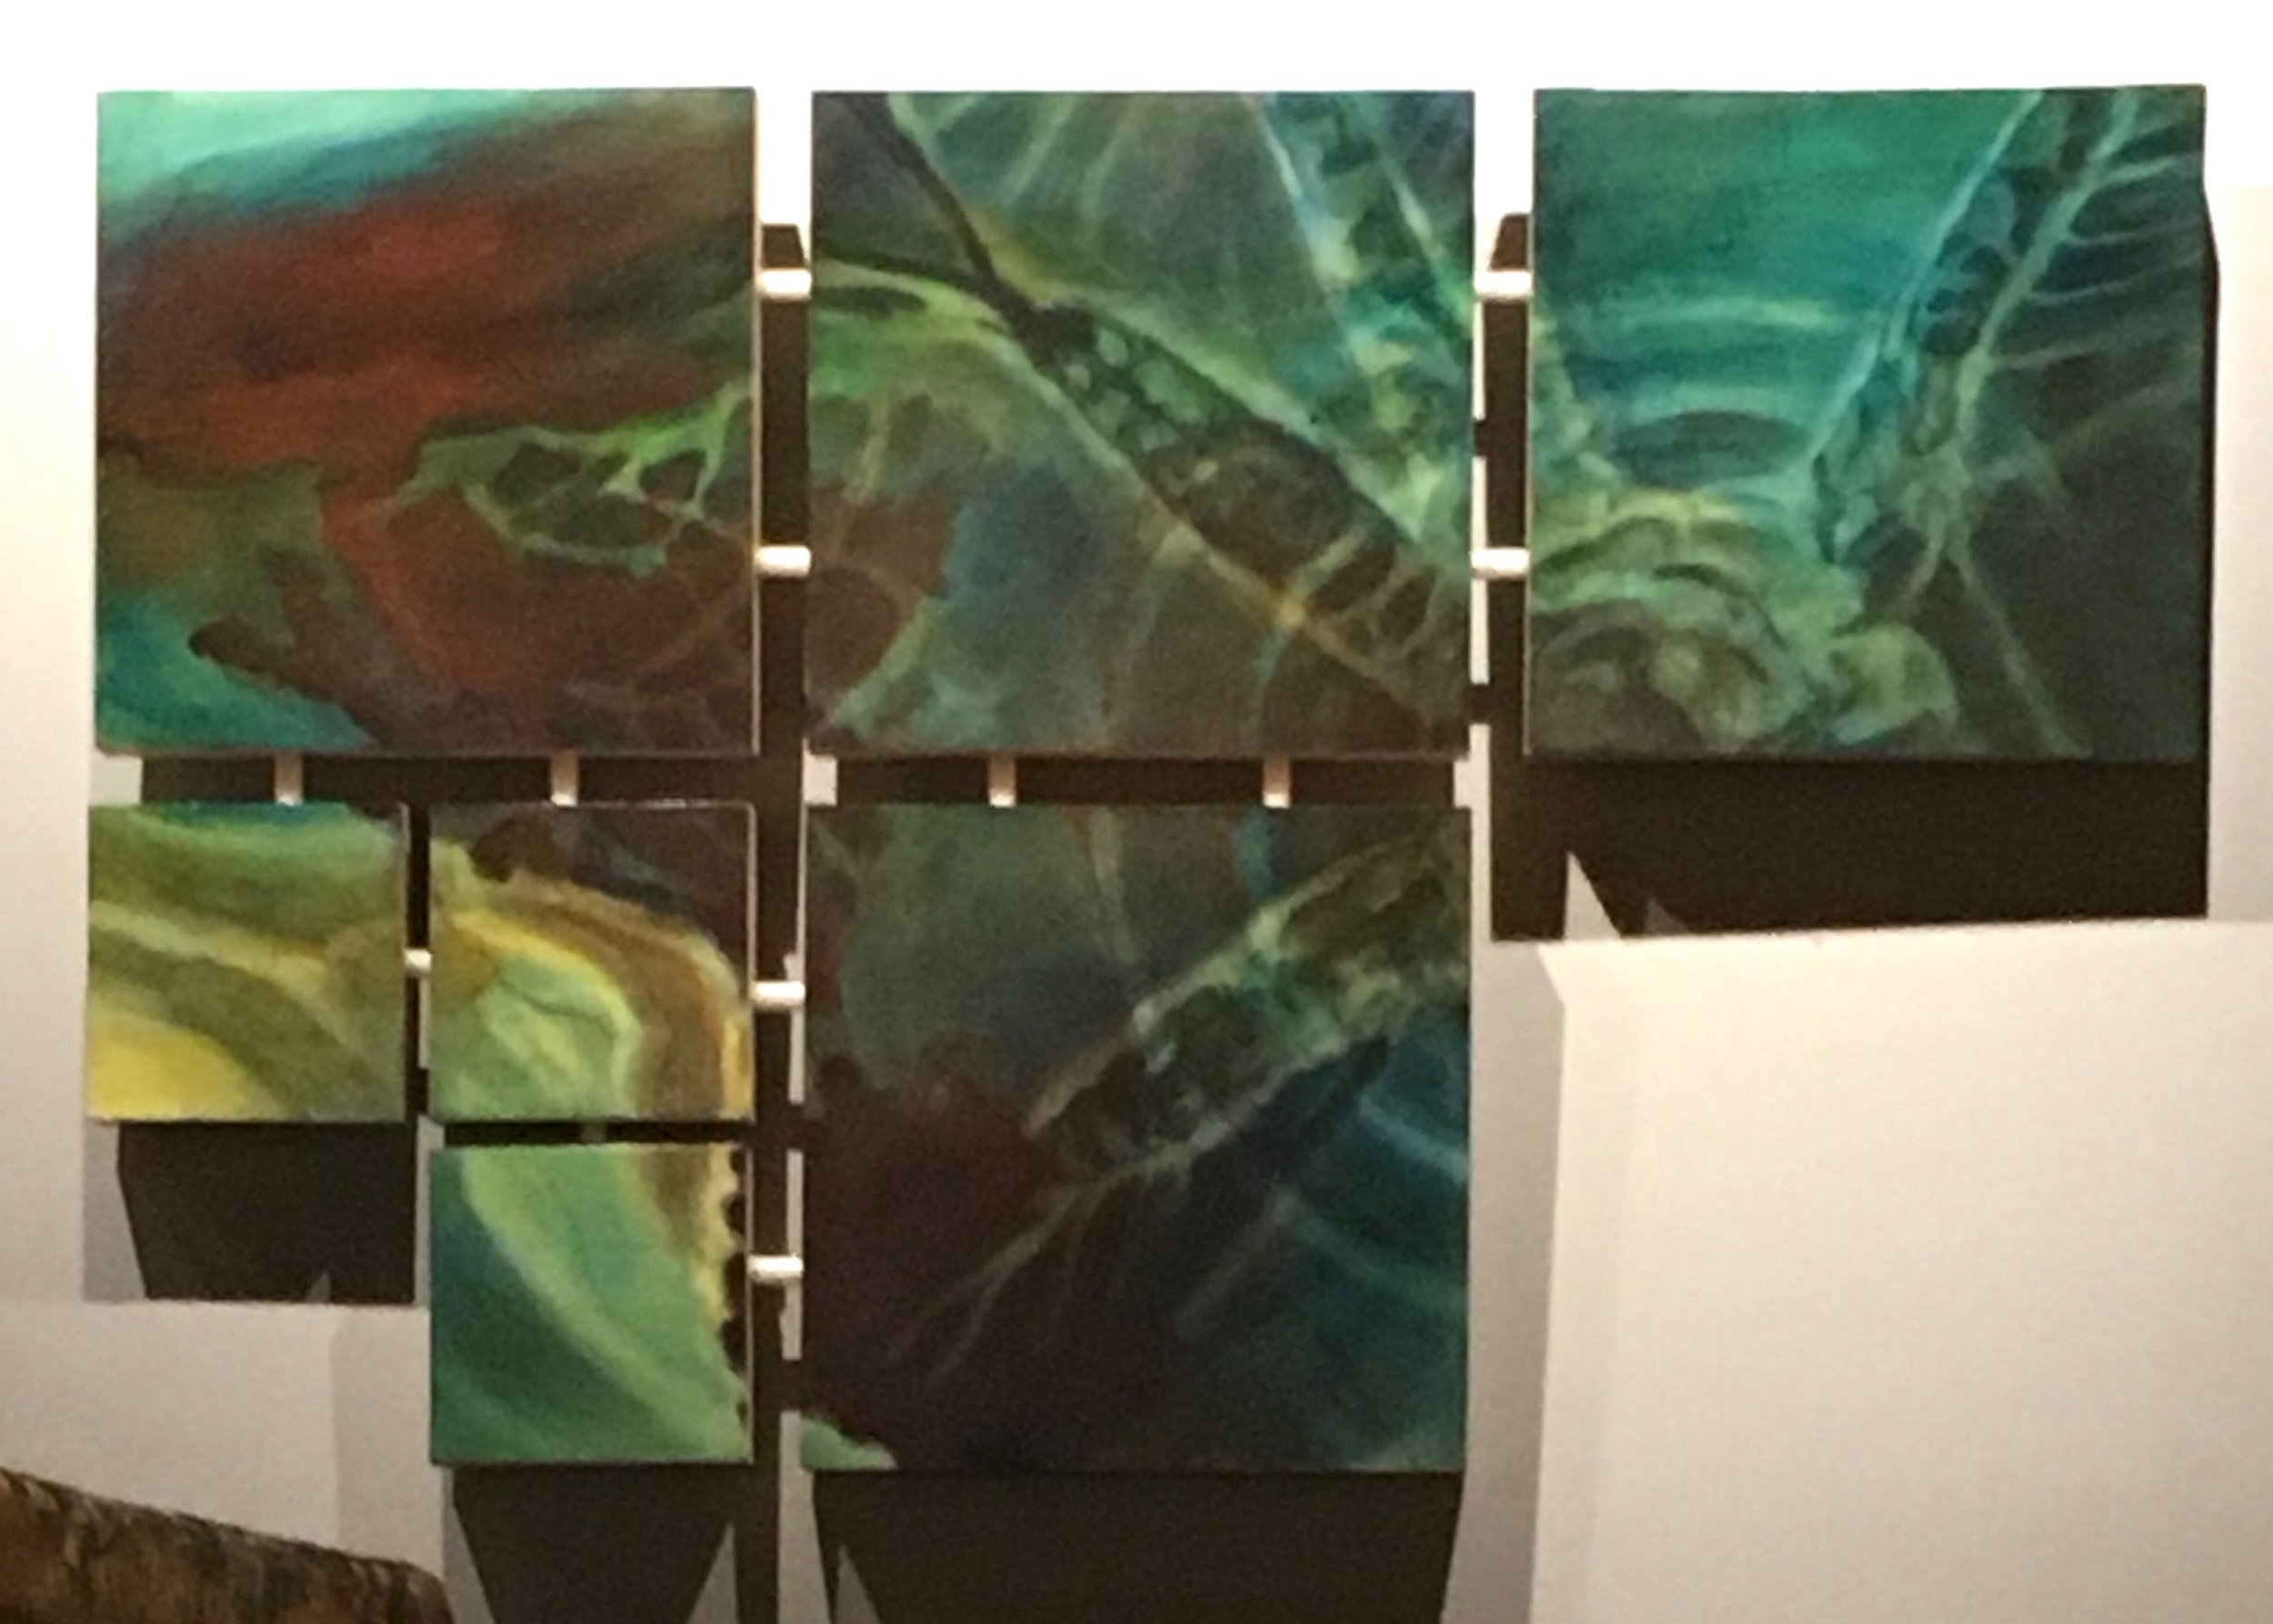
Noctiluca as Flower. Oil on gessoed paper. ©Liz Ewings 2020

This week I am painting oil sketches of plankton in the style of flower paintings.  Planktonic organisms drift with ocean currents because they can’t swim fast enough to escape them. Jellyfish are considered plankton because they drift. Krill are plankton. Barnacles and fish begin life in the plankton. Some planktonic organisms are photosynthetic like plants.  I thought the plant/photosynthetic plankton parallel would be interesting to paint.

Things have taken a weird turn because I ended up with a Noctiluca sample last summer.  Noctiluca, are dinoflagellates, single-celled organisms that engulf and consume other organisms, especially phytoplankton, which can live inside them symbiotically. Their color comes from the their food, in this case probably diatoms.

Does this remind anybody of land plants at all? Dinoflagellates are not plants. They don’t even do their own photosynthesizing. So this painting is of a diatom-enslaving amoeba with two spinning tails. But it looks like a flower.

Internal+Waves+7.jpg

Internal Waves: Still Waters Run Deep. Or Bumpy.

December 2, 2019

New Series: Internal Waves

I love the ocean and it inspires much of my work.  I have been working on a series of paintings of internal waves. Waves happen where fluids of different densities come in contact: air and water, oil and vinegar, and fresh and salt water. You may have seen internal waves in real life if you ever watched oil and vinegar slosh back and forth while making salad dressing.

Internal waves in the ocean are found below the surface at the boundary between warm and/or fresh surface water and cold, salty, deep water. When currents force deep water to flow over bumpy seafloor features like seamounts, internal waves form.

Internal waves don’t create surface waves, and only show up on the surface as slicks of flat shiny water. I love the idea that the deep ocean is active in ways that are not revealed on its visible skin. There may be more going on than is apparent at the surface.

You can see them in real life this week at our:

Holiday Extravaganza at ‘57 Biscayne

It’s that time of year again! 57 Biscayne artists will open their studios for holiday shopping, and will be joined by fabulous guest vendors.

I will have art for sale, and there will be lots of amazing crafts and holiday cheer!

Time: Thursday December 5 from 5PM-9PM

Location: 110 Cherry Street, Pioneer Square (I’m in 206 at the end of the second floor hallway)

Parking and event details can be found at: https://www.57biscayne.com

IMG_1501.jpg

Creative liberation through power tools: Or, how to build your own cradled hardboard panels.

April 9, 2019

I like to paint on hardboard panels. In my own work, I screw lots of panels together in different configurations, so the cost can add up pretty quickly if I buy them at retail. So, I learned to build my own. It’s also pretty cool to be able to make them in any size I want.

After a few iterations I have developed a process. It’s not hard, but it does take time and power tools. Yay, power tools! I found them pretty intimidating at first, but learning to use them has been a liberating experience.

Before starting: Protect your eyes and ears with safety glasses and ear plugs!

Step 1: Cut 1x2s in the lengths you will need

IMG_1620.jpg

First of all, 1x2 does not mean 1” x 2”. You will get pieces of wood that are ¾” x 1 ½” x whatever length you order. If you are interested in an explanation, you can find it here: https://www.thesprucecrafts.com/understanding-wood-sizes-in-softwood-lumber-3536905

Nice mitered corner vs. clunky un-mitered corner.

Nice mitered corner vs. clunky un-mitered corner.

Use a miter saw, also sometimes called a chop saw, to get perfect 45 degree corners. This is important. Don’t try to fudge this. Your panels will not work. I’ve included a comparison with an un-mitered corner panel.

I measure for the outside (long) edge of the wood piece and mark it with a pencil. Then I make another pencil mark 3/16” away that I line up with the saw blade. This is something you’ll have to experiment with on your own saw. Be as precise as possible. Wood pieces opposite each other should be exactly the same length.

Also, don’t be afraid to practice quality control when you’re cutting down the 1x2s. There might be portions with broken edges or knots. Don’t be afraid to cut those out if you don’t want them in your panels. Once you paint on these, you will want them to be perfect.

Step 2: Glue 1x2 pieces into squares (or rectangles) to make a cradle frame

IMG_1570.jpg

I use Clamp-Its from Rockler, my local woodworking store, to make corners square while the glue sets. You will also need clamps to secure the mitered 1x2s to the square corners. Use wood glue on the cut ends, and wipe any excess away with a damp rag once the clamps are set.

It’s worth taking the time to make the corners perfect here. Then, let the glue dry.

Step 3: Cut down tempered hardboard

My jig saw set up for cutting board. It’s wiggly!

My jig saw set up for cutting board. It’s wiggly!

I buy 1/8” thick double tempered hardboard in 4’ x 8’ sheets. It’s big, floppy, and awkward. I add ¼” to the length and width of the total panel size I want to end up with.

Ex. For 12” square panels, I cut the hardboard to 12 ¼” x 12 ¼”. I measure and draw pencil lines to follow, but I use a jigsaw to cut them, so they’re not perfect, and a little too big is better than too small. The excess will be trimmed away later.

Step 4: Glue tempered hardboard pieces to the 1x2 frame

IMG_1571 (1).jpg

Check and make sure that your hardboard panel is bigger than the 1x2 frame all the way around. If it’s not, cut a new panel and use the smallish one for something else.

Clamp cradle frame to panel while glue cures.

Clamp cradle frame to panel while glue cures.

Once the panel is clamped to the frame, wipe away any wood glue that has squeezed through to the outside with a damp rag. It dries clear, but you’ll have to sand it off later. It’s kind of a pain, and unnecessary if you wipe it off while it’s wet..

Let the glue cure for 24 hours.

Step 5: Trim the edges

Panel with untrimmed edge. Excess board=lots of dust!

Panel with untrimmed edge. Excess board=lots of dust!

**This makes a big dusty mess. Use a dust mask, some kind of dust sucking device, and cover everything you value with plastic sheeting.

Move the router counterclockwise (leftward) around the panel

Move the router counterclockwise (leftward) around the panel

I use a router with a flush trim bit to trim the edges down. Position your panels with the hardboard side (face) facing up. Plan to move the router counter-clockwise (always to the left) around the panel as you trim.

Router with a flush trim bit. The black bead traces the edge of your cradle frame.

Router with a flush trim bit. The black bead traces the edge of your cradle frame.

A flush trim bit has a spinny bead at the end that rolls along the edge of your frame, and will trace the outer edge of the frame while the blade above it scrapes away the extra hardboard. Keep your hands out of the way

Note: any weird bumps on the frame will be copied onto the hardboard. I have made the mistake of fudging here. It’s not worth it. Weird panel edges that come from weird frame bumps are not fixable. And no amount of paint will camouflage them!


Stapled corner. I add the hanging hardware before I start painting—another nifty trick I learned from a fellow artist.

Stapled corner. I add the hanging hardware before I start painting—another nifty trick I learned from a fellow artist.

Step 6: Reinforce the corners

Staple the corners. Use a staple gun to staple across the mitered corners. If you have really big panels, you might want to use counter sink drill bit and screw the corners together. Since mine are small, staples are faster.

Voila! Panels ready for gesso!

Tags Panel building, construction, cradled hardboard panels
The view from my studio at dusk

The view from my studio at dusk

1st and Cherry

March 7, 2019

Yes, I did this painting on land. Sometimes I paint things that are not plankton because plankton have seasonal cycles like flowers. They bloom in the spring and die back in the winter. In between times, one must art.

I painted this little lovely last night at dusk looking out my studio windows. If you could see the sun, it would have been setting off to the right of the painting.

Yesterday was the day clouds came back, so everything looked grey and muted. It was really beautiful light for painting with the studio lights off. It rained a bit, so the streets were wet and car headlights reflected off the water.

I used a limited palette of graphite, brown, and hansa yellow to keep the feeling wintery and neutral, with just a few pops of pure color.

Here’s a link to it on my shop page:

Buy me
Ladder shot, because everybody loves ladders!

Ladder shot, because everybody loves ladders!

Show at Cherry Street Coffee House and other news

February 26, 2019

A quick update on things that are happening around my studio:

I have a show!! It’s in the Cherry Street Coffee House Gallery at 700 1st Avenue (1st and Cherry). It includes multi-panel oil paintings from Liquid. They look fantastic on real walls, please stop by and take a look, and have a delicious coffee or pastry!

Also, I am currently in the middle of a website redesign. I think it will be sleeker and easier to use. And, I’m going to add a store. Everything’s fpr sale (at least the things I haven’t already sold!) . Until the store is up and running, drop me a line if you are interested in a piece, and I’ll give you the details.

← Newer Posts Older Posts →

Recent

Featured
Mar 19, 2026
April 2, First Thursday at Locus Wines
Mar 19, 2026
Mar 19, 2026
Feb 2, 2026
15th Annual Juried Exhibition at Gallery 110
Feb 2, 2026
Feb 2, 2026
Dec 1, 2025
First Thursday is almost here! Here's a map:
Dec 1, 2025
Dec 1, 2025
Nov 11, 2025
Holiday Open Studios at 57 Biscayne
Nov 11, 2025
Nov 11, 2025
May 15, 2025
Open Studios on Thursday June 5, and more art things
May 15, 2025
May 15, 2025
Jan 21, 2025
Arts at King Street Station, February 6, 5-8PM
Jan 21, 2025
Jan 21, 2025
Dec 16, 2024
Fresh Perspectives
Dec 16, 2024
Dec 16, 2024
Nov 25, 2024
57 Biscayne Open Studios and Holiday Party
Nov 25, 2024
Nov 25, 2024
Nov 7, 2024
It's time! First Thursday at Locus Wines in Pioneer Square, 6-8 PM
Nov 7, 2024
Nov 7, 2024
Oct 16, 2024
Upcoming Events
Oct 16, 2024
Oct 16, 2024

Powered by Squarespace